 Gift Sets
 Fragrances
 Whip Lush
 BYOB Sale
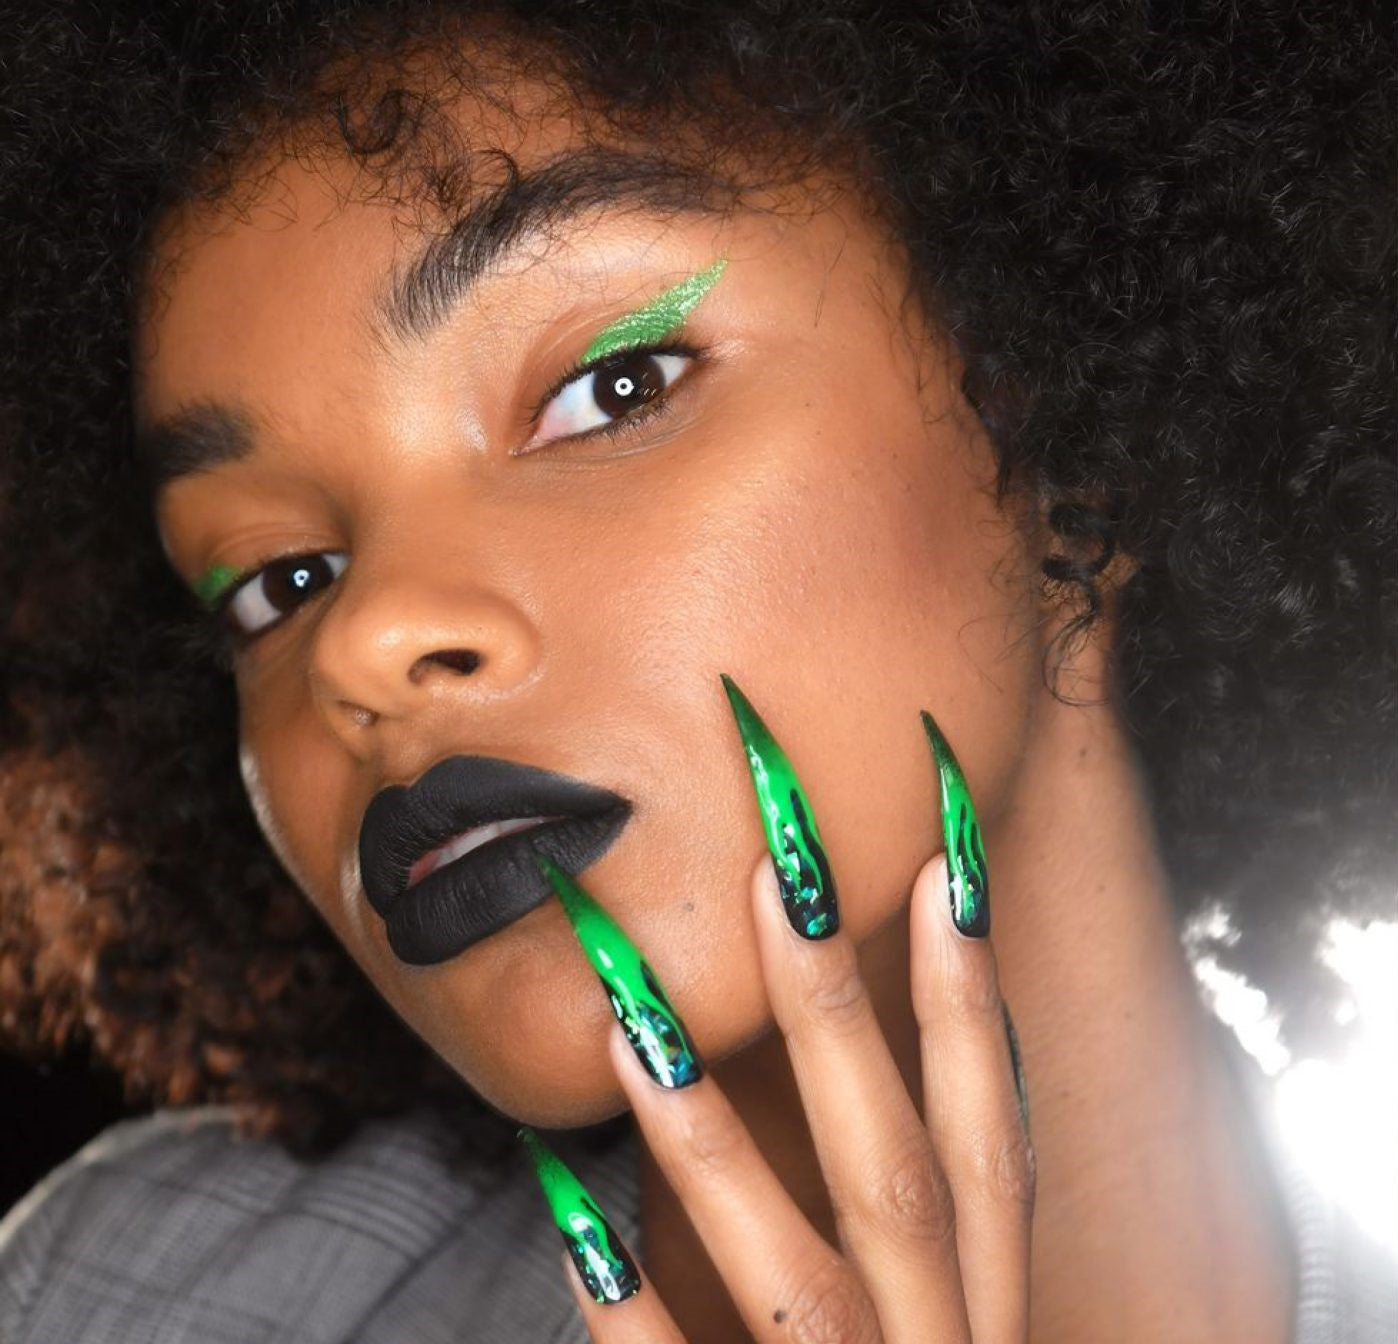
 Eye Like Options
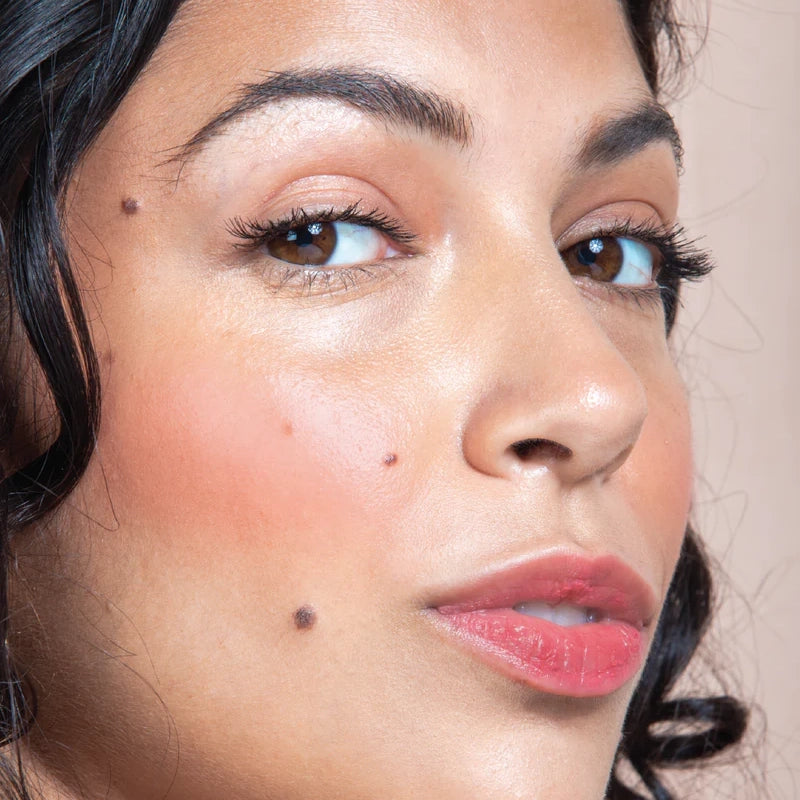 Glow Getter
 Play Paint
 Dart Its
 Stacked In Your Favour
 Bundles
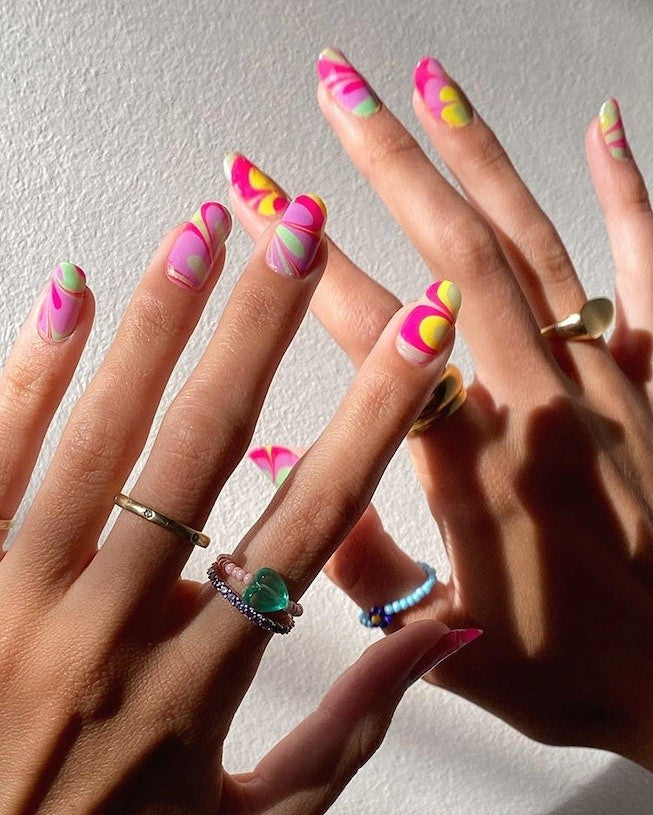
How to: Water Marble Nails
As fellow beauty lovers, we are head over heels for those dreamy swirls and the tie and dye trend that has taken over Instagram! It is definitely a must try for your nails! The best part is that it’s super simple to do at home and we’ll help you achieve exactly that.
First things first, water marble nail art is a technique wherein drops of nail polish are placed in a cup of water to create swirls of colour that can be used for creating a marbleised pattern on your nail.

What you’ll need
- Nail file
- White nail polish for the base. We recommend Gush Beauty nail lacquer in Frosted Vanilla
- 2-3 nail polish colours of your choice
- Bowl of water at room temperature
- Toothpick
- Nail polish remover (acetone-free)
- Clean up brush
- Top coat
Now gather your materials and let’s dive right into how to create the perfect marble nails!
- Prep
Just like any other manicure, this is the very first step. Remove any existing polish, file the edges to create your desired nail shape and push back the cuticles. Gushing tip- Dip your nail in warm water before pushing back the cuticles. This will soften them and make your job easy.
- Apply base colour
Apply 2 thin coats of a white nail polish and allow it to dry completely dry. This will serve as a base for your manicure.

- Create the water marble design- Drop and Swirl
Take a bowl of water and add a few drops of your chosen nail polish colours to it. Now using a toothpick, swirl the polish in water and be quick. This is the design that will come up on your hands so be creative! Make sure the water is at room temperature. Cold water will make the polish dry up too fast.

- Dip
Now one-by one, dip your fingers into the swirl. This is going to get messy! Keep the fingers dipped for a few seconds for the polish to dry and stick to your nails and then gently lift.
- Clean up the edges
To do this, first make sure all the nails have dried completely. Take a clean up brush and dip it in nail polish remover. Work around the cuticle and edges of the nail to remove the extra nail paint.

- Seal in with Top Coat
Apply a thin layer of top coat to seal in your hard work and voila! Your stunning water marble nails are ready! Go flaunt it darling!
Article by Ananya Jain
xoxo,
Team Gush

How to Build a Simple Daily Beauty Routine...
Jun 24, 2026

Social Media Beauty Trends That Are Actually Worth...
Jun 20, 2026

Beauty Hacks That Actually Work
Jun 16, 2026

Beauty Hacks That Actually Work
Jun 16, 2026

Cruelty-Free Beauty: How to Shop Mindfully
Jun 11, 2026

Bold Nail Designs for Special Occasions
Jun 08, 2026

Lip Makeup Tips for Long-Lasting Colour
Jun 05, 2026

Sunscreen & Sun Protection: Why It's Non-Negotiable
Jun 02, 2026

Skin Concerns Explained: Dryness, Oiliness and Breakouts
May 31, 2026

Editor's Picks: Gush Beauty Products We Love
May 26, 2026