 Gift Sets
 Fragrances
 Whip Lush
 BYOB Sale
 Eye Like Options
 Glow Getter
 Play Paint
 Dart Its
 Stacked In Your Favour
 Bundles
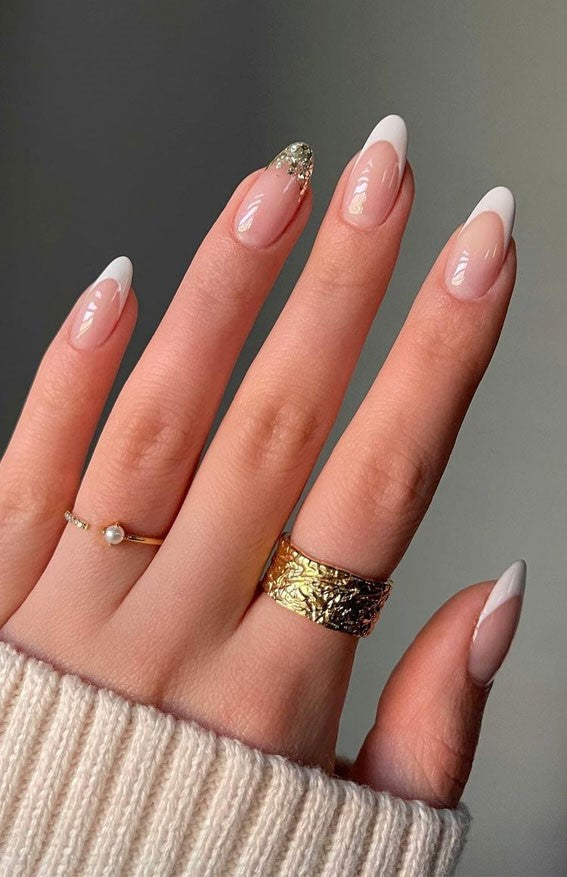
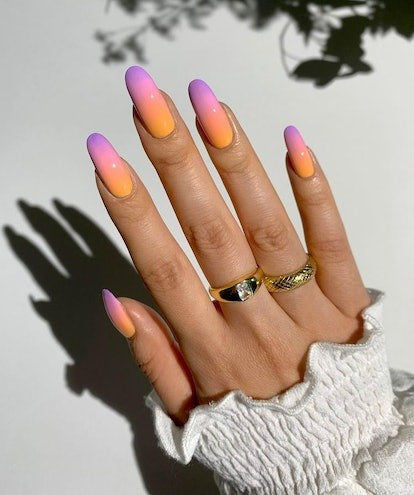
DIY Mani or Acrylics, everything you need to know
Going to get your nails done can be an interesting experience but before getting yourself a fresh set of acrylics let’s talk about all the things you need to know about acrylic nails. The good, the bad and the ugly.

Acrylic nails can sound like a good option if you have very short nails but still want length with extensions. Acrylics mimic the look of a natural nail and are ideal if you have poorly structured nails that are prone to breakage and chipping. Although, as much as it seems like an easy option to that manicure appointment, let's have a look at the downside.
- Burns a hole in the pocket
If you’ve ever got extensions done, you definitely know how they empty your wallet. Good salons charge a bomb for acrylics and the more design you want, the price goes even higher. This makes getting acrylic nails not so pocket-friendly! Furthermore, you need to get them refilled as and when your nail grows out which adds on to the expense even more.
- Time Consuming
One session of acrylics can take up to 2 hours or more depending on the design you have in mind. It is a long and somewhat uncomfortable procedure.

- Look fake
Acrylics are artificial nails created by mixing polymer powder and monomer liquid. This mixture hardens when applied and gives a fake and tacky look.
- Damages natural nail
These extensions are nothing but chemicals harmful to your natural nails. The application and removal process also involves fumes being released from the chemicals. In addition, they harm the natural nail bed including thinning of the natural nail over time. A weak nail also becomes a breeding ground for fungus and bacteria.

Instead of going through the hassle of getting acrylics done regularly, one can opt for an easier, more pocket friendly alternative- a DIY manicure. A DIY mani is simpler, quicker, doesn’t harm the nails and definitely doesn’t burn a hole in your pocket!
We’ll take you through a step-by-step guide to a DIY manicure.
-
Start off by removing any existing nail polish with an acetone- free nail polish remover. Acetone free removers do not dry the nails and hence are good for the overall nail health.

- Use a clipper to trim your nails. Use a filer to get the desired shape. Go for a round or squoval nail if you want to keep it simple and hassle-free.
- Now onto the most awaited, relaxing part. Take warm water in a bowl, add a gentle cleanser and dip in your hands for a few minutes. This will soften the cuticles and loosen up all the gunk and dead skin.
-
Use a soft brush to clean any traces of dirt from the nails and fingers. Now take a cuticle pusher to push back cuticles.

- Dry the nails and hands, apply cuticle cream and massage it in. Now take a cuticle pusher and push back cuticles gently. Use a light hand. Do not apply extra pressure. wipe off the cuticle cream once done.
- Use a thick hand cream and massage it in for hydration.
- To prep your nails for the nail polish, take a small nail polish remover on a q-tip and wipe off the excess moisturiser from your nails.
- Apply a thin layer of clear base coat. This will protect your nails from staining and make the polish last longer.
-
After the base is dry, apply a layer of your favorite nail polish. If required, you can apply one more layer for vibrancy. Brush vertical strokes starting from the base to tip.

- Finish off by sealing it in with a thin layer of top coat.
Try out this quick and simple DIY manicure instead of your usual acrylics appointment and we promise it won’t disappoint! In fact, you’ll be hooked to it!
Article by Ananya Jain
xoxo,
Team Gush

How to Build a Simple Daily Beauty Routine...
Jun 24, 2026

Social Media Beauty Trends That Are Actually Worth...
Jun 20, 2026

Beauty Hacks That Actually Work
Jun 16, 2026

Beauty Hacks That Actually Work
Jun 16, 2026

Cruelty-Free Beauty: How to Shop Mindfully
Jun 11, 2026

Bold Nail Designs for Special Occasions
Jun 08, 2026

Lip Makeup Tips for Long-Lasting Colour
Jun 05, 2026

Sunscreen & Sun Protection: Why It's Non-Negotiable
Jun 02, 2026

Skin Concerns Explained: Dryness, Oiliness and Breakouts
May 31, 2026

Editor's Picks: Gush Beauty Products We Love
May 26, 2026