 Gift Sets
 Fragrances
 Whip Lush
 BYOB Sale
 Eye Like Options
 Glow Getter
 Play Paint
 Dart Its
 Stacked In Your Favour
 Bundles
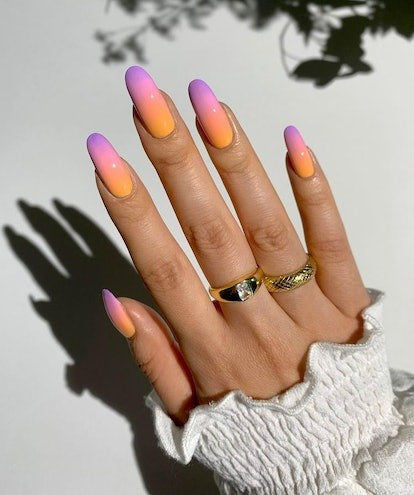
Easy Sunset Nail Tutorial
Choose to colour your summer with the sunset themed nail art designs! From tropical hues, to beachy designs, the sunset nails are all about giving you the perfect summer nails to complement your “hot girl summer”!!!
Read on for a foolproof technique to get the sunset nails at home.
- Pick your Polish
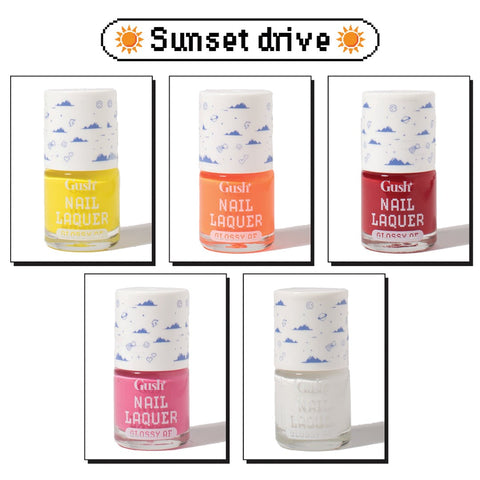
All you’ll need is nail lacquer shades with the sunset hues. You can go for our Gush favs ‘Peppermint Swirl-Red’, ‘Orangesickle-Orange’, ‘Neon Lime-Yellow’, ‘Raspberry Slushy- Light Pink’ and ‘Frosted Vanilla- White’ for the base.
Think of your nail in fourths- lowest, lower middle, middle and top. Start by painting the darkest on the lowest part and move up to the lighter shades. Don’t wait for the polish to dry up to apply the next shade and definitely don’t worry about the lines not being perfect!

- Smudge it
Remember we told you not to worry about the lines not being perfect? Here’s why. Take a rectangular makeup sponge and lightly tap on each nail to blur out the harsh demarcation lines. This will create a blended ombre effect.

- Seal it
To make sure your design is super glossy and long-lasting finish off with a thin layer of top coat.
Shop The Look
Go for the Gush Beauty ‘Sunset Drive’ set of nail lacquers to achieve the perfect summer sunset nails.
Article by Ananya Jain
xoxo,
Team Gush

How to Build a Simple Daily Beauty Routine...
Jun 24, 2026

Social Media Beauty Trends That Are Actually Worth...
Jun 20, 2026

Beauty Hacks That Actually Work
Jun 16, 2026

Beauty Hacks That Actually Work
Jun 16, 2026

Cruelty-Free Beauty: How to Shop Mindfully
Jun 11, 2026

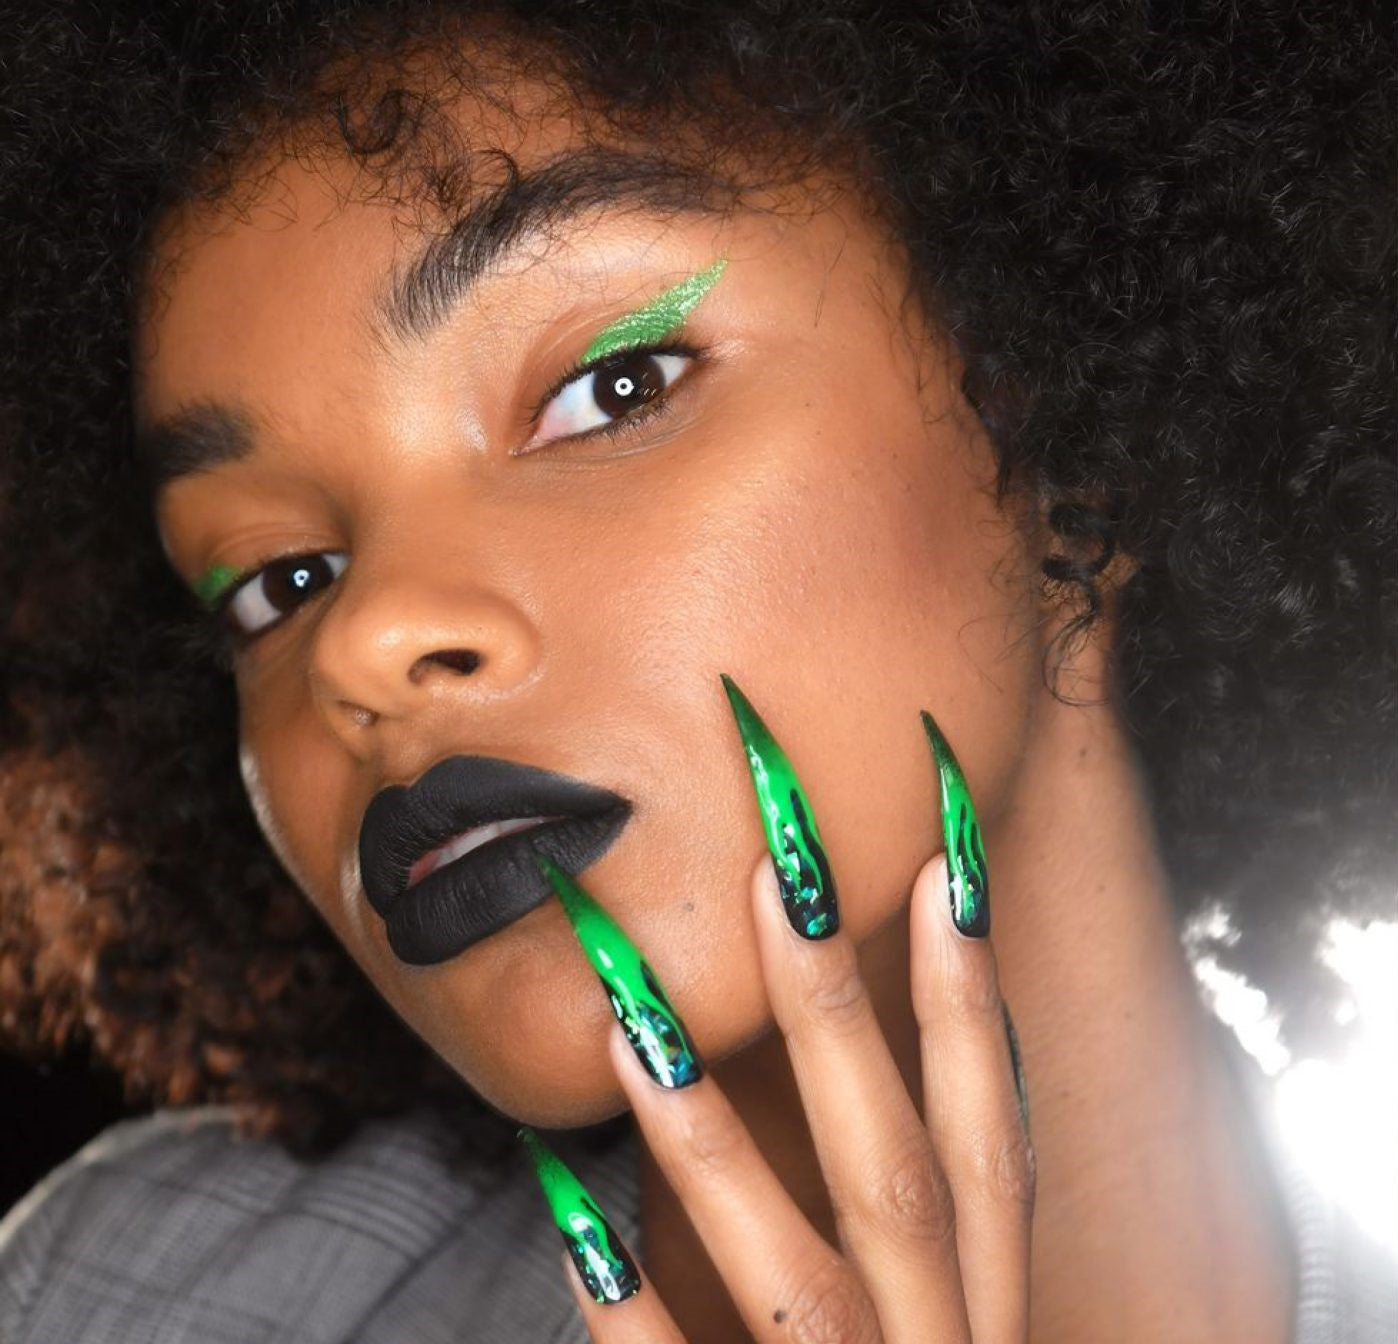
Bold Nail Designs for Special Occasions
Jun 08, 2026

Lip Makeup Tips for Long-Lasting Colour
Jun 05, 2026

Sunscreen & Sun Protection: Why It's Non-Negotiable
Jun 02, 2026

Skin Concerns Explained: Dryness, Oiliness and Breakouts
May 31, 2026

Editor's Picks: Gush Beauty Products We Love
May 26, 2026