 Gift Sets
 Fragrances
 Whip Lush
 BYOB Sale
 Eye Like Options
 Glow Getter
 Play Paint
 Dart Its
 Stacked In Your Favour
 Bundles
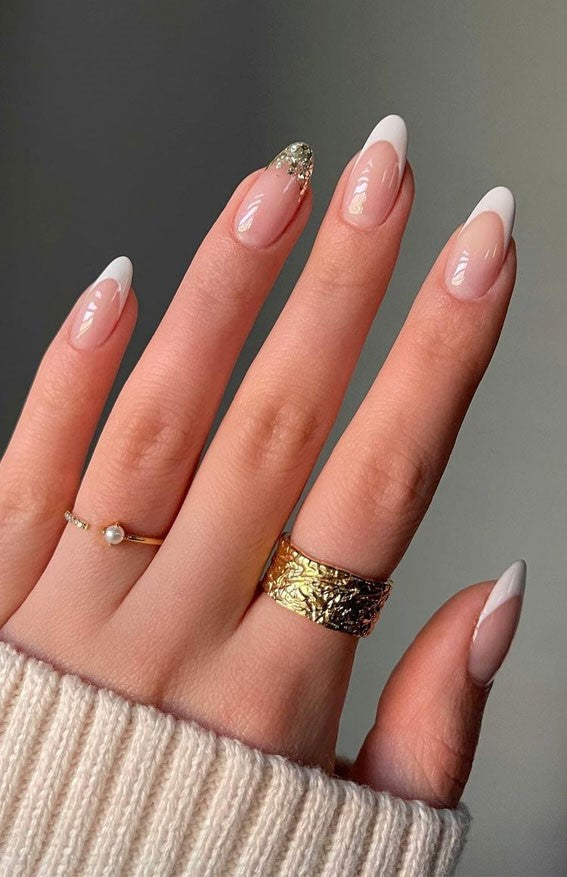
How to : French Tips
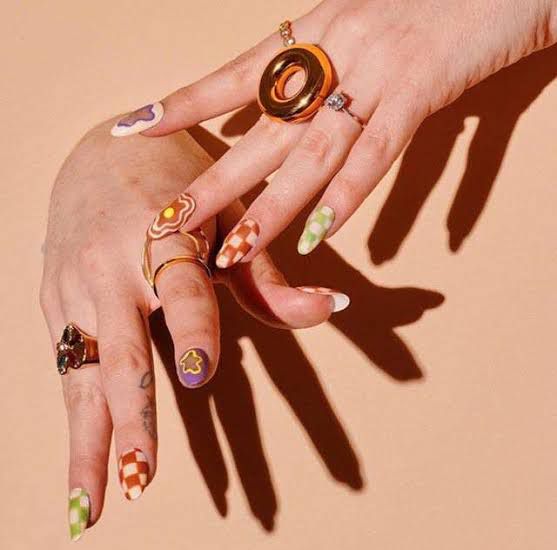
The most quintessential nail art of all time, the French manicure is a delicate yet classic look. The original French mani was all about a nude base and white tips. You can experiment with new and fun changes to the classic look. Colourful tips, gold French and ombre tips are some of the looks we love!

As the delicate tip might seem difficult to achieve at home, don’t you worry bff, we are here to drive you through the easiest hacks to get the perfect French manicure at home.
- Clean up your nails
Dip your hands in a bowl of warm water for a minute so that all the gunk is removed. Remove old nail paint with an acetone-free remover. Make sure you remove the existing nail paint from all the edges and ridges.
- Shape ‘em up
Grab a filer and start shaping your nails. For a French tip, almond and square are the most suited shapes. Focus on achieving symmetry while filing. You can use an orange wood stick or cuticle pusher to push back cuticles.

- Buff
Want to know the secret behind a long-lasting manicure? It's buffing the nail plate. Using a buffer, buff out the nail plate. Use a high grit buffer and buff light strokes. You’ll want to focus around the cuticle area. Myth Buster- It is generally considered that buffing is harmful to the nail plate as it removes the nail layers but that is only if it is done incorrectly using a low grit buffer and over buffing.
- Hydrate the cuticles
Apply a thin layer of cuticle oil or hand cream around the cuticles and rub it properly. Don’t overdo the hydration or it will reduce the life of your manicure.

- Apply the base
Now comes the actual painting of the nail. You can do all sorts of experiments with French manicures but here we’ll keep it classic. For the base, start off by applying a thin layer of a base shade. This will smoothen out your natural nails and prevent them from getting stained.
- Paint the tip
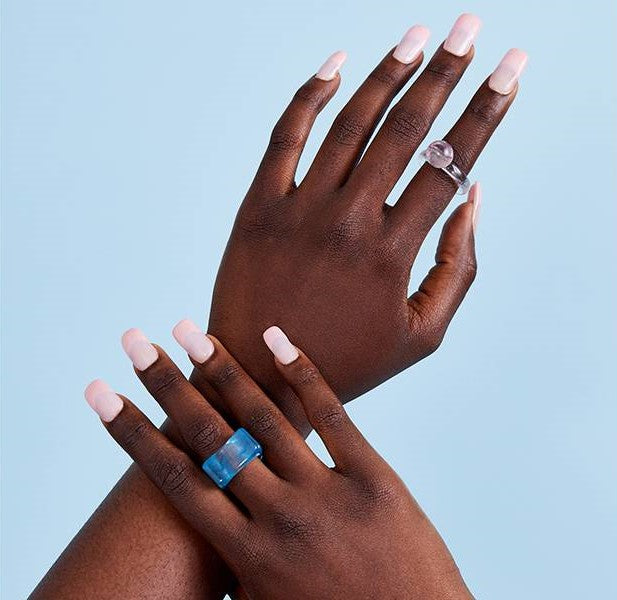
Use a white nail polish for the tips such as our Gush Beauty nail lacquer in ‘Frosted Vanilla’. Place the brush where you want the French tip to start and pull it over to the center such as you are creating a curve. Repeat the same for the other side. Gushing Tip- You can use a thin painting brush to even out the center joint and get the perfect curve. You can opt for a straight or a curved white strip depending on your nail shape although a curved polish makes the nails appear longer and is more natural.

- Apply the Over-Top coat
Choose a soft-nude pink polish to top off your manicure. This is a great way to blend in all the shades together and give a natural look.
- Apply Top Coat
The final step, the armour to your manicure- the Top Coat! Seal and set in your DIY French manicure with a thin layer of top coat. Finish off by applying cuticle oil for hydration.
Go for the classic look or go all out, the French nail will never disappoint you.
Article by Ananya Jain
xoxo,
Team Gush

How to Build a Simple Daily Beauty Routine...
Jun 24, 2026

Social Media Beauty Trends That Are Actually Worth...
Jun 20, 2026

Beauty Hacks That Actually Work
Jun 16, 2026

Beauty Hacks That Actually Work
Jun 16, 2026

Cruelty-Free Beauty: How to Shop Mindfully
Jun 11, 2026

Bold Nail Designs for Special Occasions
Jun 08, 2026

Lip Makeup Tips for Long-Lasting Colour
Jun 05, 2026

Sunscreen & Sun Protection: Why It's Non-Negotiable
Jun 02, 2026

Skin Concerns Explained: Dryness, Oiliness and Breakouts
May 31, 2026

Editor's Picks: Gush Beauty Products We Love
May 26, 2026