Gift Sets
 Fragrances
 Whip Lush
 BYOB Sale

 Eye Like Options
 Glow Getter
 Dart Its
 Stacked In Your Favour
 Bundles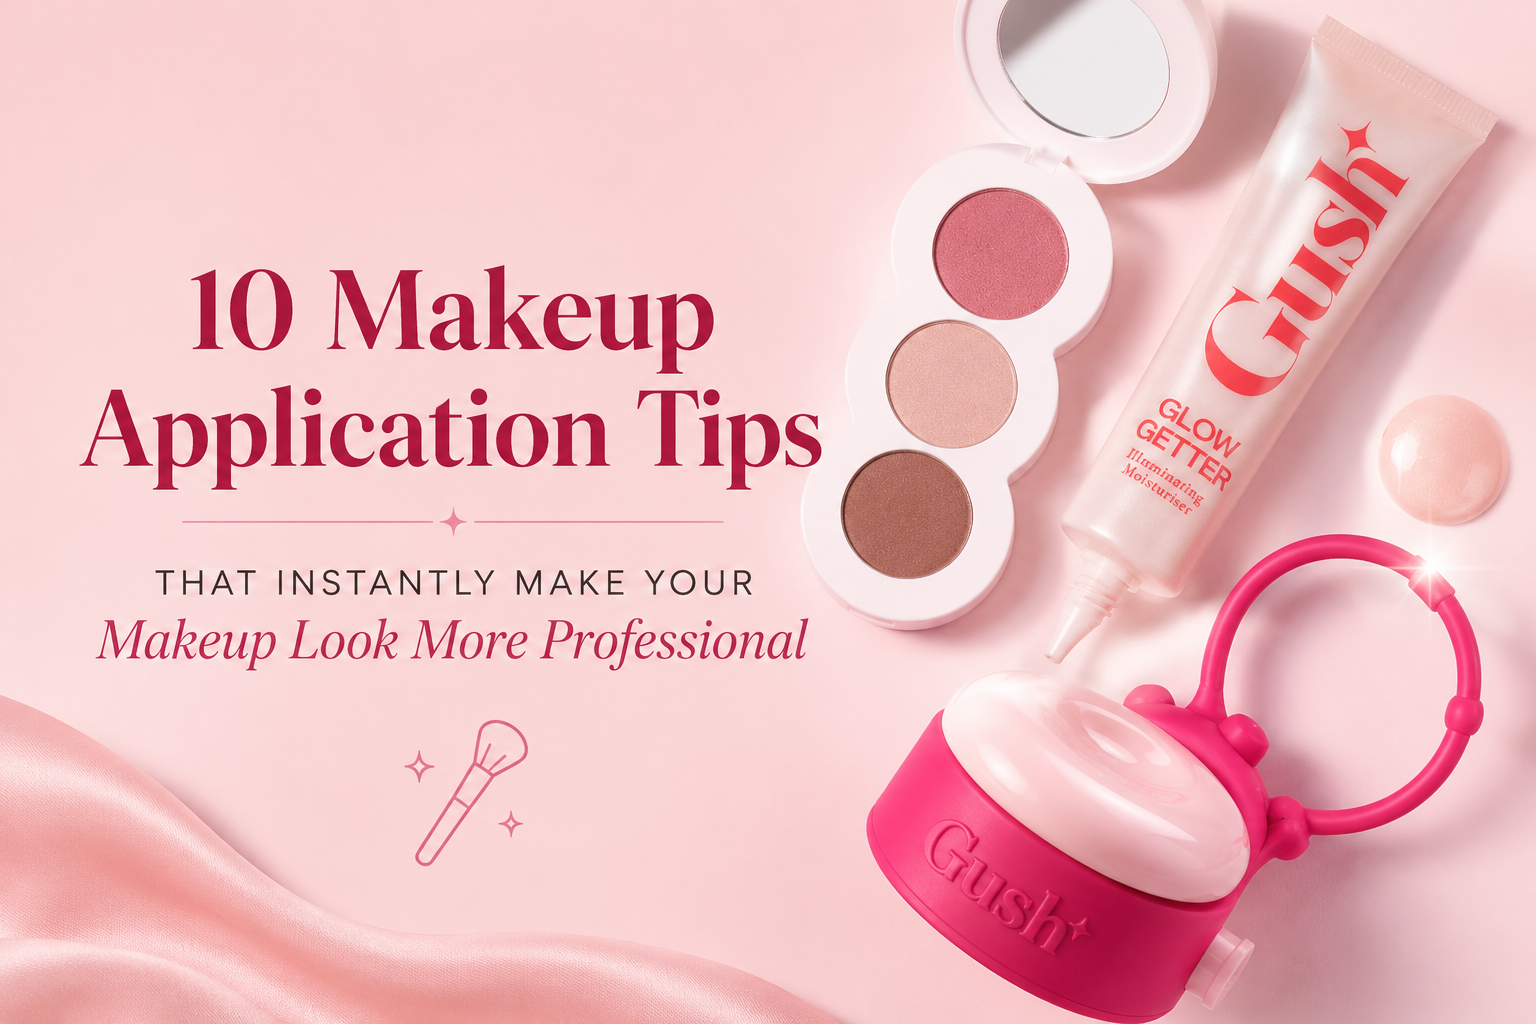
10 Makeup Application Tips That Instantly Make Your Makeup Look More Professional
Most people think professional looking makeup comes from better products.
It does not.
It comes from technique. The way you apply your base, blend your eyeshadow, set your liner, and finish your lips makes more difference to the final result than the price tag on any product you own.
Professional makeup artists do not have access to magic products. They have developed habits and techniques that most people have never been taught. This guide covers ten of those techniques. Each one is simple. Each one makes an immediate, visible difference. And every single one works with the products you already own.
Gush Beauty products are referenced throughout where relevant, with direct links to each one.
Tip One: Always Start With Skincare
The single biggest difference between professional and amateur makeup application is the canvas.
Professional makeup artists spend more time on skincare prep than on the makeup itself. Moisturised, protected, primed skin holds makeup longer, looks smoother, and requires less product to achieve the same result.
Before any makeup goes on, cleanse your skin, apply moisturiser, and let it absorb fully. Apply SPF after your moisturiser as the final skincare step.
The Glow Getter Illuminating Moisturiser applied on slightly damp skin creates a luminous, smooth base that makes everything applied on top look better. The UV U Later SPF 50 Sunscreen Serum absorbs within about a minute and sits comfortably under all makeup formulas without pilling or shifting your base throughout the day.
Skincare first, always. Everything else is built on top of this.
How long should I wait between skincare and makeup?
Give your moisturiser thirty seconds to absorb before your SPF. Give your SPF about a minute to absorb before applying any makeup on top. The whole skincare to makeup transition takes under two minutes. Rushing this step causes pilling and uneven application that is difficult to fix once your base is on.
Tip Two: Use the Right Amount of Product
Using too much product is the most common beginner mistake and one of the easiest to fix.
More product does not mean more coverage or better results. It means a heavier finish that settles into lines, clings to dry patches, and breaks down faster throughout the day.
For liquid foundation, start with a pea-sized amount for the whole face and build only where you need more. For concealer, a tiny dot on each area you want to cover is enough. For blush, one small drop of the Squishy Serum Infused Liquid Blush is sufficient for both cheeks. For eyeshadow, tap the brush on the back of your hand before applying to remove excess powder.
Train yourself to use less than you think you need. Add more in small amounts. This one habit change improves every part of your makeup look immediately.
Tip Three: Apply Foundation With Your Fingers for a Skin-Like Finish
Brushes and sponges have their place. But for an everyday base that looks like real skin rather than applied makeup, your fingers are often the best tool.
Body heat warms the product as you apply it. This helps it melt into the skin rather than sitting on top. The result is a seamless, natural finish that photographs well and holds through the day.
Press and pat the product into the skin rather than sweeping or dragging. Work from the centre of the face outward. Blend the edges carefully around the hairline, jaw, and nose.
For skin tints and lighter coverage formulas like a sheer layer of the Stacked In Your Favour Multi-Purpose Face Palette, fingers give a finish that no brush can replicate.
When should I use a sponge instead of fingers?
A damp beauty sponge is better when you want to sheer out a formula further or when you are applying over a texture-focused formula like a powder. For any liquid or cream formula where you want the most skin-like result, fingers are usually the better choice.
Tip Four: Set Your Concealer Before You Blend It
This is one of the most impactful tips in this list and almost nobody does it.
Most people apply concealer and immediately blend it into the skin. The problem is that fresh concealer blends out almost completely, leaving very little coverage behind.
Instead, apply your concealer and wait thirty to sixty seconds before blending. In that time it begins to set. When you blend after that short wait, it does not sheer out as completely. You get significantly better coverage with the same amount of product, and it holds longer through the day without creasing.
This works particularly well for under-eye concealer where creasing is most common. Apply, wait, then blend with your ring finger using a gentle patting motion.
Tip Five: Blend Upward and Outward
The direction you blend in matters.
Most people blend downward or in a circular motion. This can drag the skin downward, emphasise texture, and make makeup look heavy and flat.
Blend upward and outward instead. On the cheeks, blend from the nose toward the ear. On the forehead, blend from the centre outward toward the hairline. For blush, sweep and blend upward toward the temples.
This lifting direction makes the face look more sculpted and alert. The difference is subtle but visible, especially in photographs and in natural light.
Tip Six: Press, Do Not Sweep Eyeshadow
Sweeping eyeshadow across the lid distributes the product too thinly and creates a washed-out result. Pressing the shadow onto the lid packs more pigment in a shorter time and creates a more saturated, intentional colour payoff.
Use a flat eyeshadow brush or your fingertip. Press the product onto the lid and tap gently to blend the edges. For shimmer shades, pressing gives a significantly more intense and more glossy result than sweeping does.
The Eye Like It Stacked 4-in-1 Eyeshadow Palette has four coordinated shades that work well together using this press and blend technique. Press the lightest shade across the inner lid and brow bone. Press the mid shade onto the main lid. Use the deepest shade to add definition at the outer corner and lower lash line. That is a complete eye look using one compact and a pressing technique rather than a sweeping one.
Does pressing eyeshadow work for matte shades too?
Yes. Matte shades pressed onto the lid give more colour payoff than swept ones. The blending at the edges can be done with a clean fluffy brush using small circular motions after the colour is packed onto the lid. Press first to lay down colour, then blend the edges to soften.
Tip Seven: Use a White or Nude Liner on Your Waterline
This is one of the fastest and most effective professional tricks in makeup.
Lining the lower waterline, the inner rim of the lower lid, with a white or nude pencil makes the eyes look significantly more open, larger, and more awake. It takes ten seconds and requires no skill.
Most people line the lower waterline with dark liner, which makes the eyes look smaller and heavier. Switching to a nude or white liner on the waterline and reserving dark liner for the lower lash line instead is a simple change that makes the eyes look completely different.
The Eye Like Options 2-in-1 Eyeliner and Kajal gives you both formats in one product. Use the kajal end on the waterline for an instantly more open and awake eye. Use the liner end for the upper or lower lash line for definition. Two completely different looks from one product depending on placement.
Tip Eight: Fill in Your Entire Lip With Liner Before Applying Colour
This is the technique that separates a lip look that lasts all day from one that fades within two hours.
Most people use lip liner only to outline the edges of the lip. Filling in the entire lip surface with liner before applying any colour on top creates a base layer of pigment that does not move the way lip products do. When the top colour fades, even colour remains underneath. No bare lip. No visible ring outline.
Use a liner that matches your lip colour as closely as possible. Fill in the whole lip. Apply your colour over the top in thin layers.
The 5-in-1 Pen Pal Twistable Multi Stick works well as both a liner and a full lip base. Apply the Play Paint Liquid Matte Lipstick or the Juicy Lip Oil over the top depending on whether you want a matte or glossy finish.
Tip Nine: Set Lip Colour With Powder
This is a technique professional makeup artists use to make lip colour last through long events, photoshoots, and full working days.
After applying your final coat of lip colour, place a single-ply tissue over your lips. Lightly dust translucent powder over the tissue. The fine powder particles pass through the tissue fibres and set the colour on the lip surface without disturbing the application.
This step significantly reduces transfer and extends how long the colour holds. It works on matte, satin, and cream formulas. After setting, add a small amount of gloss on top if you want shine without compromising longevity.
Tip Ten: Clean Up Your Edges
Professional makeup looks precise. The edges are neat. The liner does not stray. The foundation is blended past the jawline. The eyeshadow does not drop onto the cheeks.
After finishing your full makeup, take a small amount of concealer on a thin brush or your fingertip and clean up any edges that look messy. The area around the eye where eyeshadow may have fallen. The edges of your liner. The boundary between your base and your neck.
The Play Lip and Cheek Tint pressed lightly around the outer corners of any untidy blush edges can also soften the transition naturally. A clean, precise edge is the difference between a look that reads as done and one that looks unfinished.
A clean brush dipped in a small amount of concealer can also correct any eyeshadow fallout under the eye, sharpen the edges of liner, and tidy the cupid's bow after applying lip colour.
What is the quickest way to clean up makeup mistakes?
A thin, flat brush dipped in a small amount of concealer is the most versatile correction tool. It can clean up liner edges, remove eyeshadow fallout, sharpen any line, and correct small smudges without disturbing the surrounding makeup. Keep one clean brush set aside for this purpose and use it at the end of your routine before finishing.
A Quick Recap of All Ten Tips
Tip one: start with fully prepped, moisturised, SPF-protected skin.
Tip two: use less product than you think you need and build in thin layers.
Tip three: apply foundation with your fingers for the most natural, skin-like finish.
Tip four: let concealer sit for thirty to sixty seconds before blending for better coverage.
Tip five: blend all products upward and outward to lift the face.
Tip six: press eyeshadow onto the lid rather than sweeping for better pigment payoff.
Tip seven: use a nude or white liner on the waterline to open and brighten the eyes.
Tip eight: fill in the entire lip with liner before applying colour for longer wear.
Tip nine: set lip colour with translucent powder through a tissue to reduce transfer.
Tip ten: clean up edges with a concealer brush at the end of your routine.
None of these require new products. All of them work immediately. Practice each one and your makeup will look more polished from the first attempt.
Frequently Asked Questions
Which of these tips makes the biggest difference for beginners?
Setting concealer before blending and filling in the lip with liner before colour are the two techniques that make the most visible immediate difference for most beginners. Both correct habits that almost every beginner has and both require zero additional products or tools.
How do I know if I am using too much product?
If your makeup looks heavy by midday, settles into fine lines, or starts to look patchy and uneven within a few hours, you are likely using too much product. Start with half the amount you normally use and see how it looks. You can always add more.
Can these tips work on all skin types?
Yes. Every tip in this guide is technique-based rather than product-based, which means they apply across oily, dry, combination, normal, and sensitive skin. The product recommendations are suggestions but the techniques work regardless of which specific products you use.
How do I blend eyeshadow without it looking muddy?
Use a light hand and blend in small circular motions at the edges rather than the entire shadow. Pack colour first with a flat brush or fingertip. Then use a clean, fluffy blending brush with no product on it to soften the edges only. Keep the centre of the lid saturated and focus blending only at the transition points.
Why does my makeup always look better in the mirror than in photos?
Photos pick up texture, unevenness, and heavy product in a way that mirrors in indoor lighting do not. The fixes are using less product, blending more thoroughly at the edges, and choosing dewy or satin finishes over very matte ones which can look flat in photos. The Glow Getter Illuminating Moisturiser used as your base adds a natural luminosity that photographs significantly better than a flat, matte base.
How do I make my eye makeup look more symmetrical?
Work on both eyes at the same step rather than completing one eye fully before starting the other. Apply liner to both eyes at the same time. Apply eyeshadow to both eyes at each step. This makes it much easier to compare and match as you go rather than trying to replicate a finished eye on the second one.
What is the most important product to invest in for more professional results?
A good cleanser and moisturiser. Everything in this guide performs better on well-prepped skin. The Clean Slate Cleansing Balm and the Glow Getter Illuminating Moisturiser together form a base that makes every product applied on top look better than it would on unprepped skin. Invest in the foundation of your routine before any individual makeup product.
Final Thoughts
Professional looking makeup is not about spending more. It is about applying what you have with more intention and better technique.
Start with one tip. Build from there. Each one takes less than a minute to learn and delivers an immediate, visible result.
Explore the Face collection, Eyes collection, and Lips collection at Gush Beauty for the products referenced in this guide. Check the Skin Play collection for skincare that gives you the best possible canvas to work with. Browse the Bundles and Sets for the most cost-effective way to build your complete routine.

From Office to Party: Press-On Nail Styles for...
Oct 19, 2026

Press-On Nails for Small Nail Beds: How to...
Oct 16, 2026

Press-On Nails for Weddings: How to Choose a...
Oct 12, 2026

Almond vs Round vs Coffin Nails: How to...
Oct 09, 2026

How to Choose the Right Press-On Nail Size...
Oct 05, 2026

Answers to the Most Confusing Beginner Beauty Questions
Sep 28, 2026

The Best Gush Beauty Products for a Minimal...
Sep 25, 2026

Beauty Trends That Look Great On Camera and...
Sep 21, 2026

Beauty Hacks That Make Your Makeup Last from...
Sep 18, 2026

Cruelty-Free Beauty vs Vegan Beauty: What Is the...
Sep 14, 2026